Fax Documents
Updated: 01/30/2026
| Views: 4124
Tebra’s integrated faxing feature eliminates the need for external fax machines or third-party services by allowing healthcare providers and staff to send, receive, and manage faxes directly within the web platform. After the documents are sent, review the fax status and details in Fax History.
- Outbound faxing is available for Clinical with Billing subscribers.
- Practice must enable kFax enabled (Billing Subscriber) to access the options to send faxes. If kFax was recently enabled, log out and back into Tebra to apply the change. Allow up to 10 minutes for the fax options to appear.
- The practice's outbound fax number is the assigned kFax number.
- The file size of all documents combined in a fax cannot exceed 10MB.
Access Documents
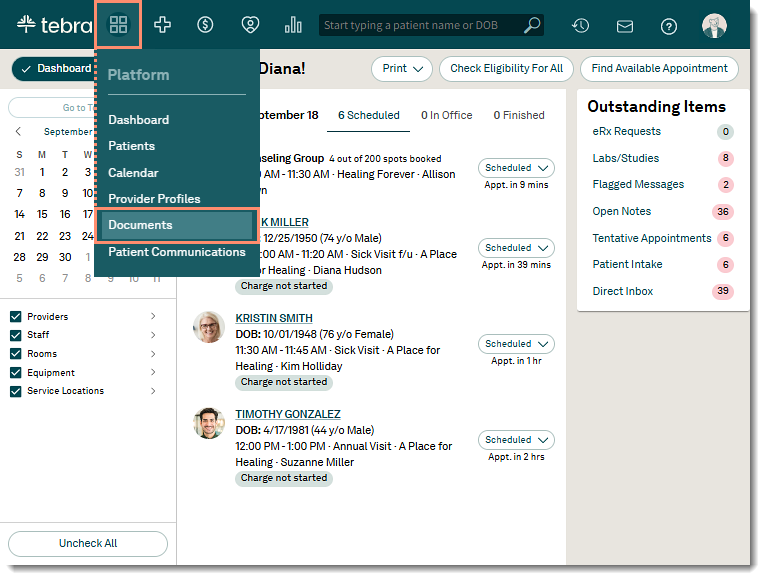
- Hover over the Platform icon and click on Documents. The Documents page opens.
|
 |
Send Fax
- Select Fax: Find the document(s) to send the fax. If applicable, use search or filters to find specific documents.
- To send a single document, click the more options icon and select Send Via Fax. The New Fax panel opens.
- To send multiple documents, click to select multiple documents. Then, click the Document Actions drop-down and select Send Via Fax. The New Fax panel opens.
|
 |
- Add Details:
- Enter the fax number (e.g., (555) 123-4567) for the recipient.
- By default, the Subject is automatically populated with the practice name. If applicable, edit the subject for the fax.
- Enter the name of the Recipient.
- If a patient is associated with the document, the patient name is populated.
Note: If multiple documents were selected, the patient name from the first document is populated.
- To remove the patient name, click X.
- Optionally, enter a Message for the recipient.
- Documents Included: Displays all documents included in the fax.
- To remove a document, click X.
- Click Send eFax when finished. A green confirmation message displays when successfully sent. Review the fax status in Fax History.
- To review a PDF of the documents before sending the fax, click Preview eFax. A new browser window opens.
|
 |