Add, Edit, or Delete Rooms
Updated: 01/27/2025
| Views: 3621
In the Calendar Settings, you have the ability to incorporate exam rooms into your patient appointment workflow. You can also easily edit or delete exam rooms as needed.
Once a room has been added, it can be assigned to a patient from the Dashboard during the patient visit.
Access Calendar Settings
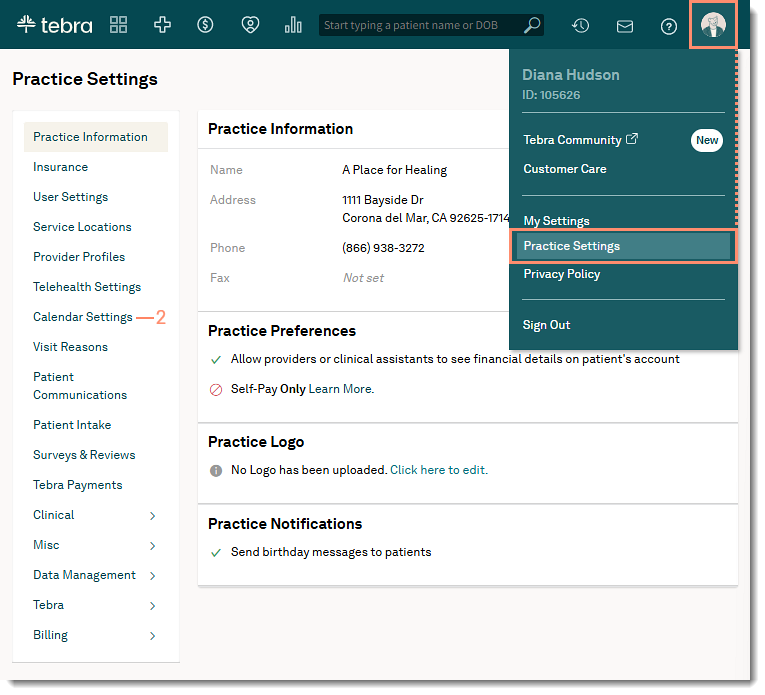
- Hover over the User icon and click on Practice Settings. The Practice Settings page opens.
- Click Calendar Settings. The Calendar Settings page opens.
|
 |
Add Rooms
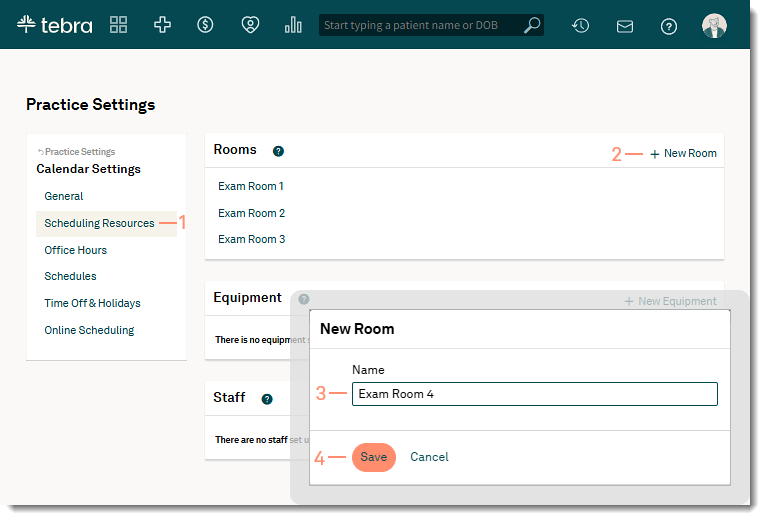
- Click Rooms & Equipment. The Rooms and Equipment page opens.
- Click +New Room. The New Room pop-up window opens.
- Enter a room Name.
- Click Save when finished. The room is now available to add when scheduling an appointment or when the patient checks in.
|
 |
Edit Rooms
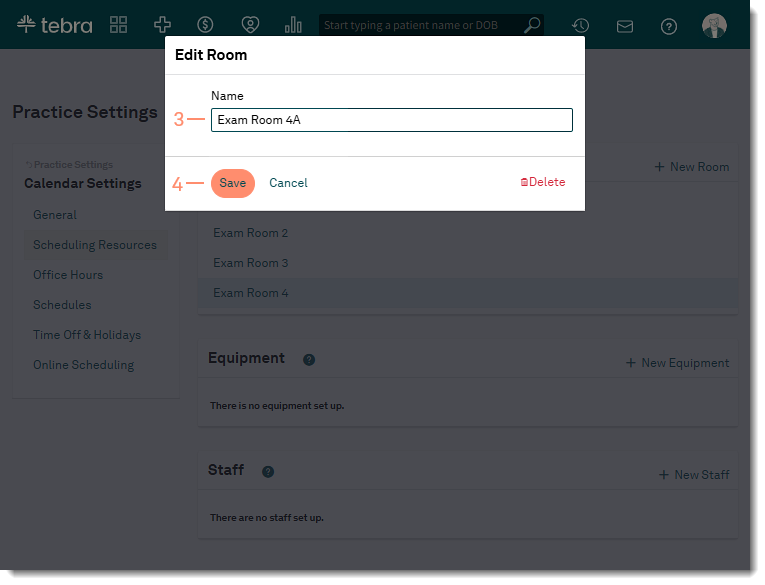
- Click Scheduling Resources. The Scheduling Resources page opens.
- Click on the room name under Rooms. The Edit Room pop-up window opens.
- Enter changes to the room Name.
- Click Save when finished. The new room name updates for all scheduled appointments and displays when scheduling a new appointment.
|
 |
Delete Rooms
- Click Scheduling Resources. The Scheduling Resources page opens.
- Click on the room name under Rooms. The Edit Room pop-up window opens.
- Click Delete. The Edit Room confirmation window opens.
- Click Delete to confirm. The room is removed from the list.
- Edit existing scheduled appointments to remove the deleted room and if necessary, add a different room to the appointment.
|
 |