Reporting: Export Practice Information
It is recommended to generate the following reports if you are closing your practice, cancelling your Tebra account, or would like to manually back up important information from the Desktop Application (PM).
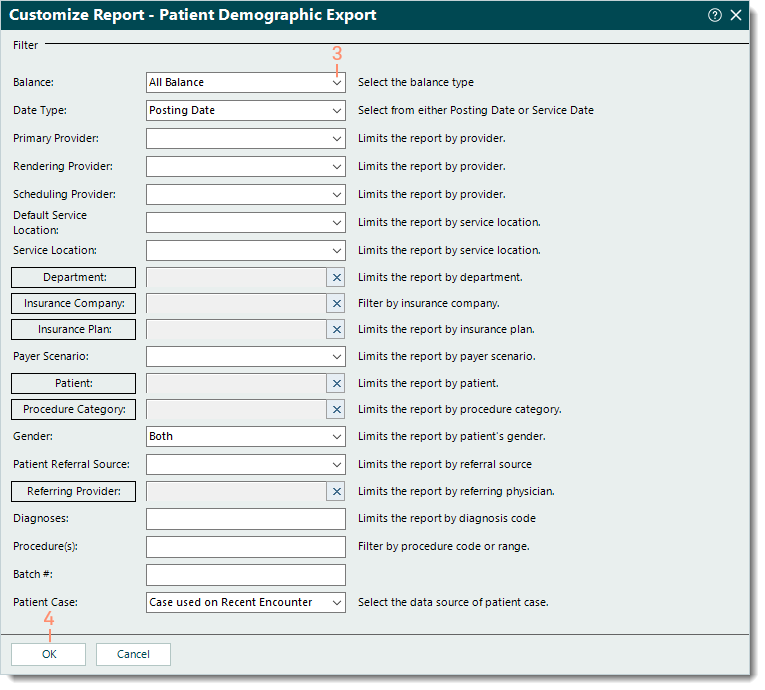
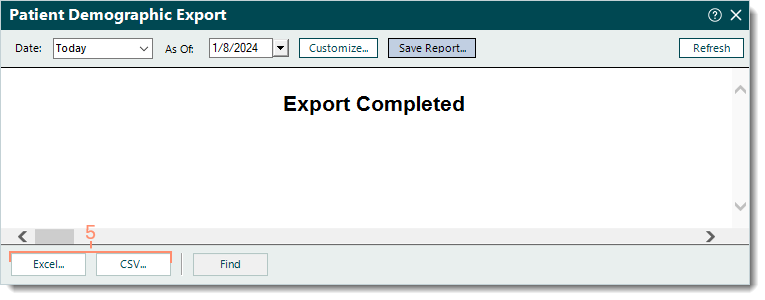
Patient Demographic Export
|
 |
|
 |
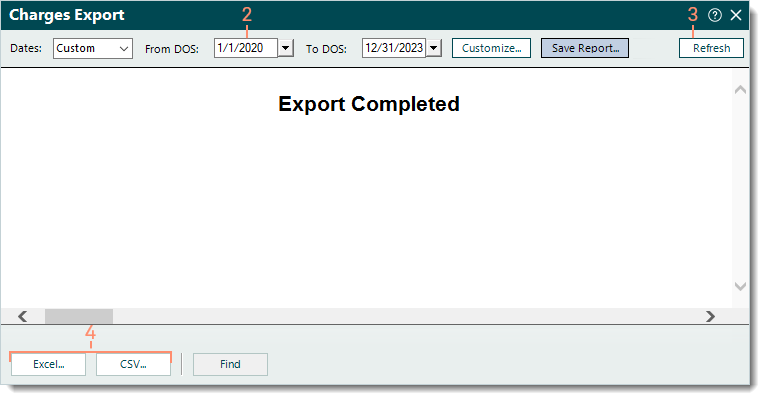
Charges Export
|
 |
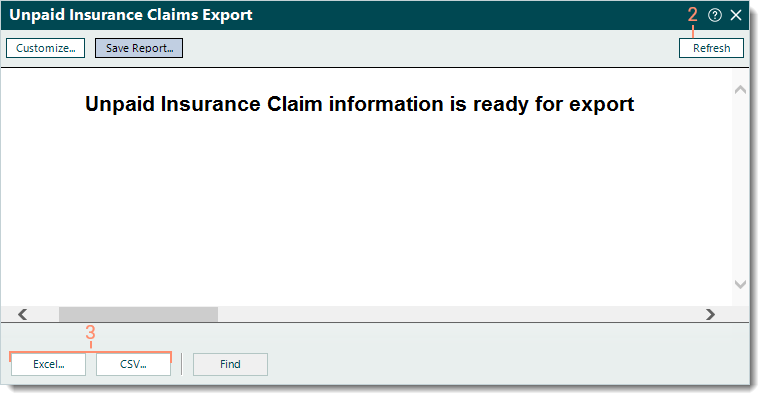
Unpaid Insurance Claims Export
|
 |
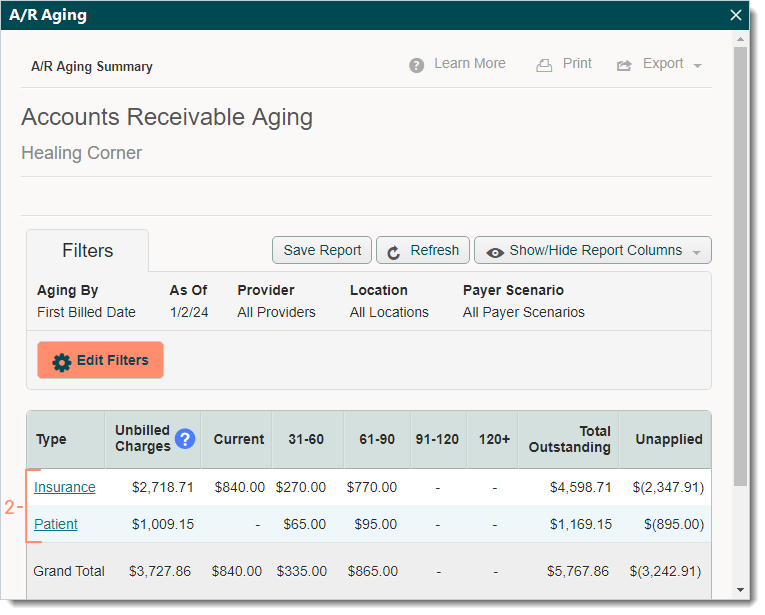
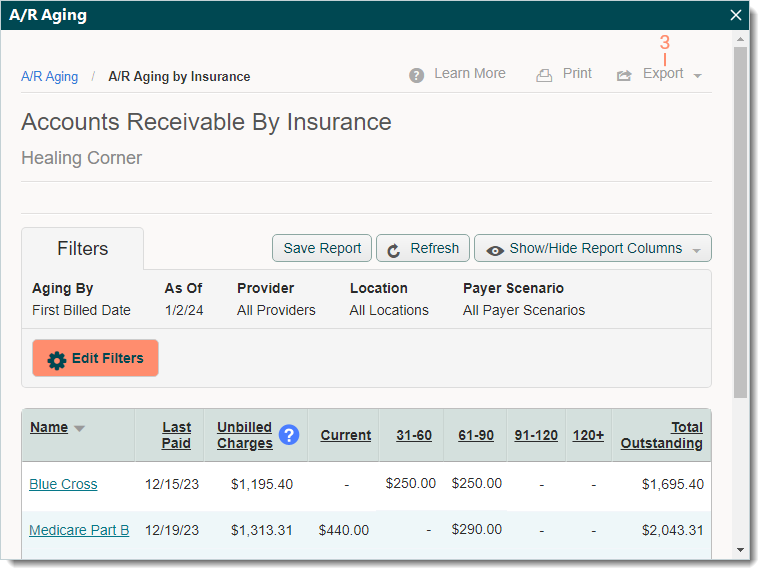
Accounts Receivable Aging
|
 |
|
 |
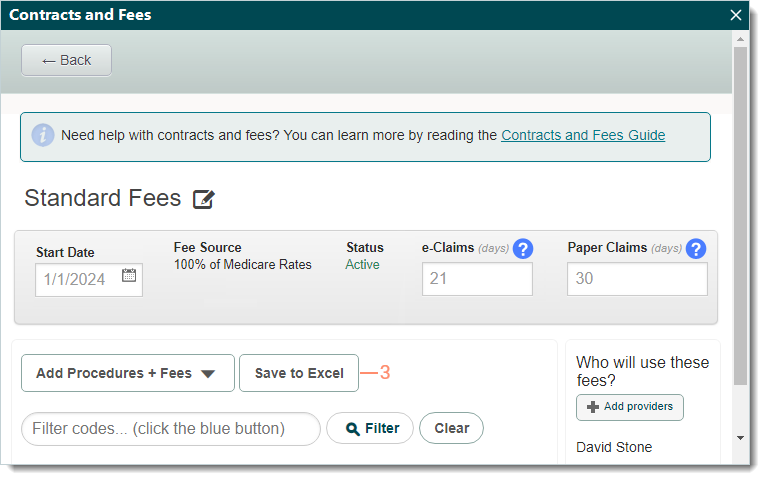
Standard Fees and Contract Rates
|
 |