Patient Experience: Credit Card Authorization (Stripe)
- Last updated
-
-
Save as PDF
Updated: 02/21/2025 | Views: 2359
When users send intake forms to a patient, the patient receives an email and/or text with a link to the forms. The web form is responsive-- allowing patients to fill out their intake forms on a computer or on their smartphones and tablets. Review Patient Experience: Complete Patient Intake Form to learn more about the patient's experience completing the intake form.
For Patient Collect (Stripe) activated practices, they can send a Credit Card Authorization form through the Patient Intake. Patients can choose to add, edit, or remove credits card(s) on file and electronically sign the authorization form. After the form is signed, the credit cards display as Authorized when collecting a payment.
Available for Engage subscribers and accounts with access to Patient Intake.
Access Patient Intake
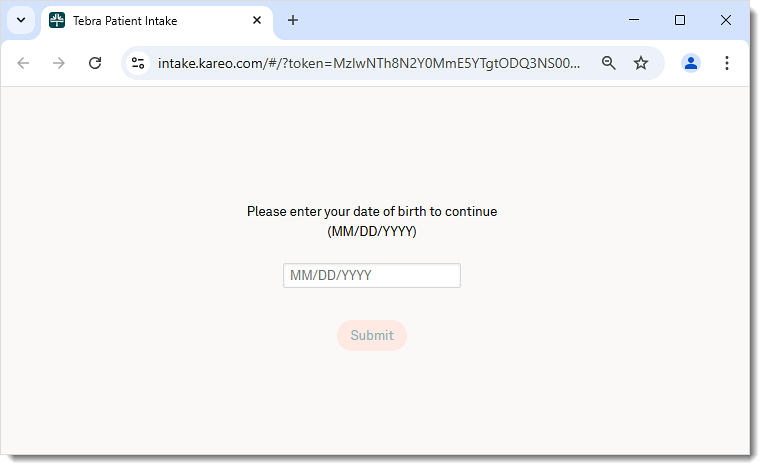
- The patient enters their date of birth for verification and clicks Submit. The Patient Form page opens.
- The patient clicks Get Started to begin. The first form opens.
|
 |
Credit Card Authorization
Patients can add card(s) on file and electronically sign the authorization form. This feature is available for Tebra Payments or Patient Collect (Stripe) activated practices.
- For Tebra Payments activated practices, review the Patient Experience: Complete Patient Intake for more details.
- For Patient Collect (Stripe) activated practices, review the following steps.
- Add Card:
- Enter the Cardholder Name, Card Number, Expiration Date, CVC, Billing Address, a Card Nickname (optional), and enter notes (up to 500 characters) into Comments for the practice (optional).
- If there is is already a card on file, click +Add a Card to enter a new card and if applicable, designate the card as the default.
- Click Save Card when finished.
Note: For security purposes, the card number is not stored in Tebra. Only the last four digits and expiration date can be viewed by the practice.
|
 |
- Manage Card:
- Edit Card: Click Action and select Edit to update the expiration date, billing address, card nickname, add comments, or mark the card as default.
Note: Comments edited by the patient overwrites existing notes.
- Remove Card: Click Action and select Remove, then click Confirm on the pop-up window to delete the card.
- Show Details: Click Action and select Show Details to display the cardholder's name, expiration date, billing address, and notes (if available).
- Patient reviews the terms, clicks to select they agree to the terms, and electronically signs the form by typing their name in the designated field.
- If the patient does not agree to the terms, remove the saved card(s). Then, click Skip to continue.
- Click Next to continue to the next page.
- Click Back to go back to the previous page.
|
 |
Review & Submit
- The patient can review all of the information they entered prior to submitting their intake forms.
- Click Edit under any section to go back to the respective section.
- Click Print to save a copy of the additional form(s).
- Click Submit Form. The Confirmation page opens.
- Click Back to go back to the previous section.
- Once the form has been submitted, a confirmation message displays and the form is no longer accessible. If applicable, additional forms displays for patients to download.
|
 |