|
|
 |
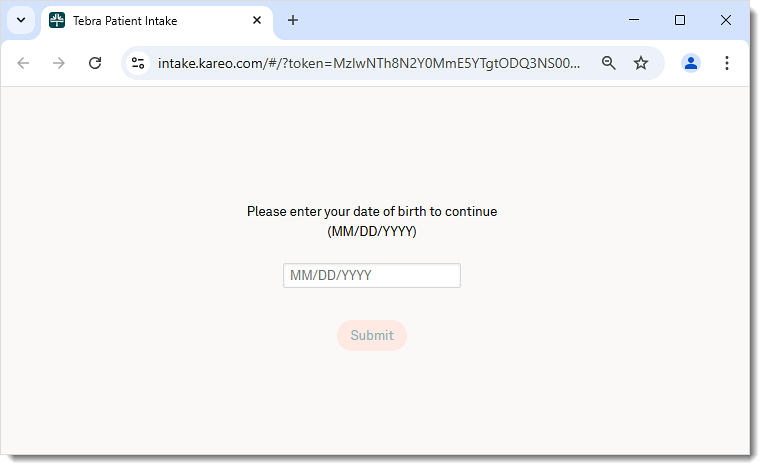
Date of Birth
- The patient enters their date of birth for verification and clicks Submit. The Patient Form page opens.
|
 |
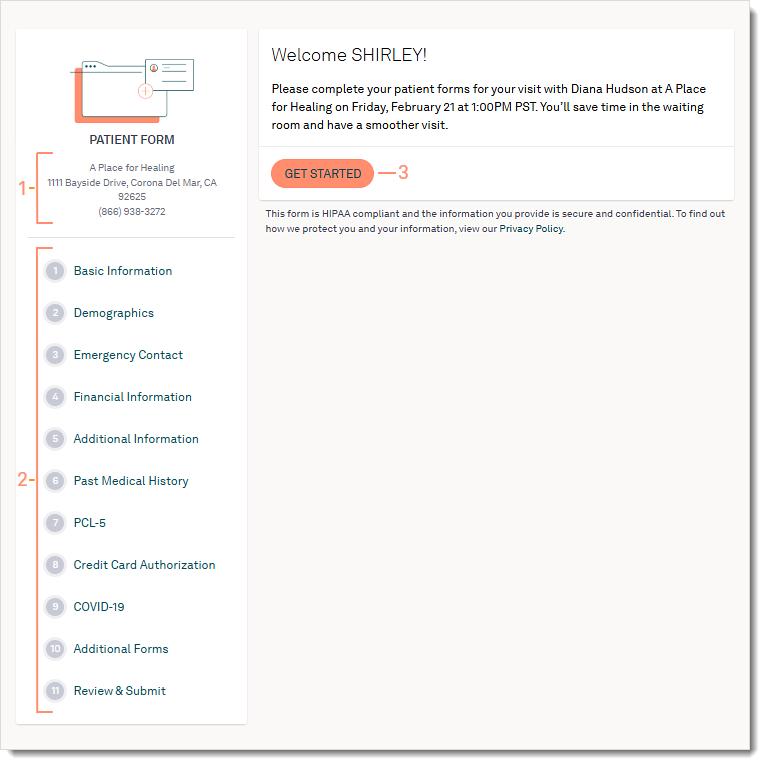
Welcome Page
- The service location the patient appointment is scheduled at.
- Navigation:
- Patients fill out all required fields of a form to move onto the next.
- Patients can click on the navigation to return to previous completed forms.
- Information entered auto-saves, and patients can return to the form using the same link in the email.
- Available forms may vary based on the selected form(s) sent by the practice.
- The patient clicks Get Started to begin. The first form opens.
|
 |
Basic Information
- Basic Information:
- First Name and Last Name
- Middle Name (optional)
- Suffix (optional)
- Sex
- Date of Birth
- Primary Phone Type
- Primary Phone Number
- Email
- Social Security Number (optional)
- Address, City, State and Zip
- Maiden Last Name (optional)
- Martial Status (optional)
- Driver's License photo, state and number (optional)
- Patients can upload an image of their Driver's License/ID. If they are completing the forms with a smartphone or tablet, they can easily take and upload a photo of their ID.
- Click Next to continue to the next page.
Note: Information entered into the forms auto-saves, with the exception of the Driver's License/ID and Insurance Card Front/Back images. If these images are uploaded and forms have not been submitted, patients will need to upload the images again. |
 |
Demographics
All fields are optional.
- Demographics:
- Sexual Orientation
- Gender Identity
- Language
- Ethnicity
- Hispanic or Latino
- Race
- Specific Races
- Click Next to continue to the next page.
- Click Back to go back to the previous page.
|
 |
Emergency Contact
- Emergency Contact:
- Relationship to Contact
- First and Last Name
- Middle Name (optional)
- Primary Phone Type
- Phone Number
- Email (optional)
- Address, City, State, and Zip (optional)
- Click Next to continue to the next page.
- Click Back to go back to the previous page.
|
 |
Financial Information
- Select a Responsible Party.
- Myself: The patient is the financially responsible for payment.
- Same as emergency contact: The emergency contact is the financially responsible for payment.
- Other: New contact is the financially responsible for payment. If this option is selected, the patient will be asked to enter:
- Relationship to Responsible Party
- First and Last Name
- Middle Name (optional)
- Date of birth (optional)
- Primary Phone Number
- Phone Number
- Social Security Number (optional)
- Email (optional)
- Address, City, State, and Zip (optional)
- Select a Method of Payment.
- Self-Pay: The patient is financially responsible for all payments.
- Insurance: The patient is covered by a payer. Populate the following information:
- Upload the front and back of their insurance cards. If they are completing the forms with a smartphone or tablet, they can easily take and upload the photos of the cards.
- Enter the primary insurance information.
- Insurance Company
- Policy Number
- Insurance Plan (optional)
- Insurance Phone Number (optional)
- Group Number (optional)
- Address, City, State, and Zip (optional)
- Select the Relationship to Primary Policy Holder, if necessary.
- If the patient is not the primary policy holder, populate the following information:
- First and Last Name
- Middle Name (optional)
- Insurance ID Number (optional)
- Social Security Number (optional)
- Sex (optional)
- Address, City, State, and Zip (optional)
- Click + Add another insurance to add a additional insurances.
- Click Next to continue to the next page.
- Click Back to go back to the previous page.
|
 |
Additional Information
- Click Add Pharmacies to add a preferred pharmacy. The Add Pharmacies pop-up window opens.
- Search by Pharmacy Name or Zip code.
- Click Select on the desired pharmacy. More than one may be selected.
- Click Add Pharmacies. The Add Pharmacies pop-up window closes.
- The patient can optionally select a referral source from the drop-down list.
- Click Next to continue to the next page.
- Click Back to go back to the previous page.
|
 |
Medical History
- Medical History may include the following eight sections:
- Medication and Allergy: The patient enters current medications they are taking and any allergies including reactions.
- Past Medical History: The patient can select applicable medical histories under Head, Ears, Nose/Sinuses, Mouth/Throat/Teeth, Cardiovascular, Respiratory, Gastrointestinal, Genitourinary, Endocrine, Heme/Onc, Infections, Musculoskeletal, Skin, Neurological, and Psychiatric.
- Family History: The patient can add family members, their known diseases, and health statuses.
- Social History: The patient can select applicable social histories under Tobacco, Alcohol, Drug Abuse, Cardiovascular, Safety, Sexual Activity, and Birth Gender.
- Surgical History: The patient can select applicable previous surgeries from the provided list and add comments.
- Hospitalization/Procedure: The patient can add inpatient and outpatient procedures with applicable hospitalization dates.
- Implantable Devices: The patient can add applicable implantable devices and unique identification numbers.
- OB/GYN History: If applicable, the patient can add their gynecology and pregnancy history.
- Click Next to continue to the next page.
- Click Back to go back to the previous page.
|
 |
Screening Tools
- The patient selects the answers to the screening tool questions.
- Click Next to continue to the next page.
- Click Back to go back to the previous page.
|
 |
Credit Card Authorization
Patients can add card(s) on file and electronically sign the authorization form. This feature is available for Tebra Payments or Patient Collect (Stripe) activated practices.
- For Patient Collect (Stripe) activated practices, review Patient Experience: Credit Card Authorization (Stripe) for more details.
- For Tebra Payments activated practices, review the following steps.
- The patient enters the Cardholder Name and Billing Zip Code. Then, clicks Add Card Number to enter the Card Number, Expiration Date, and CVV in the pop-up window.
- Patient reviews the terms, clicks to select they agree to the terms, and electronically signs the form by typing their name in the designated field.
- Click Next to continue to the next page.
- Click Back to go back to the previous page.
|
  |
Additional Forms
Additional forms may include custom forms created by the practice.
- The patient reviews the form(s) and answer available questions. When applicable, patient electronically signs the form by typing their name in the designated field(s).
- Click Next to continue to the next page.
- Click Back to go back to the previous page.
|
 |
Review & Submit
- The patient can review all of the information they entered prior to submitting their intake forms.
- Click Edit under any section to go back to the respective section.
- Click Print to save a copy of the additional form(s).
- Click Submit Form. The Confirmation page opens.
- Click Back to go back to the previous section.
|
 |
Completed Form
Once the form has been submitted, a confirmation message displays and the form is no longer accessible. If applicable, additional forms displays for patients to download.
|
 |