Updated: 06/09/2023 | Views: 1793
Document the patient's social history that may be medically relevant under Social History.
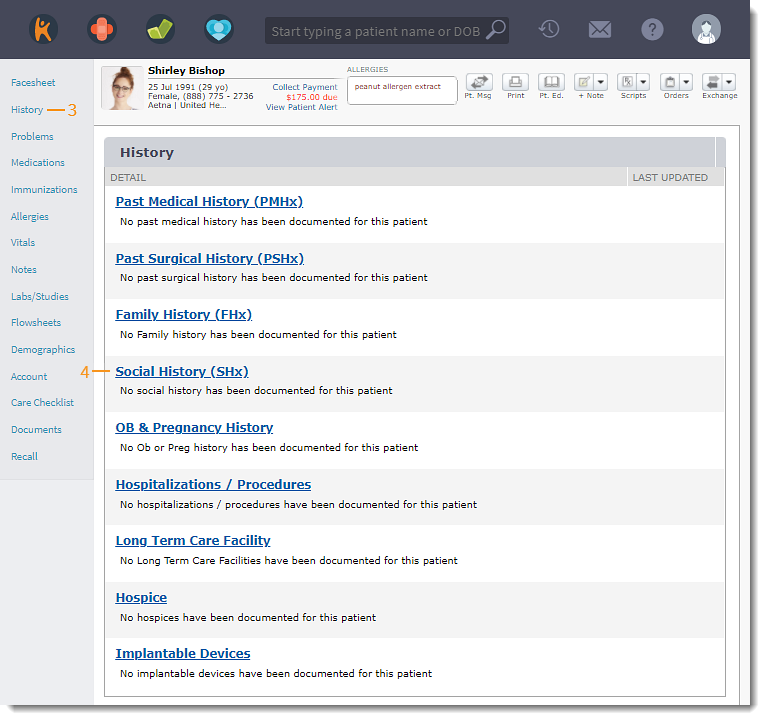
Access Social History
- Enter the first 2–3 letters of the patient's name or date of birth (mm/dd/yyyy) in the top navigation bar search box.
- Click to select the patient from the auto-populated results. The patient's Facesheet page opens.
- Click History. The History page opens.
- Click Social History (SHx). The Social History page opens.
|
 |
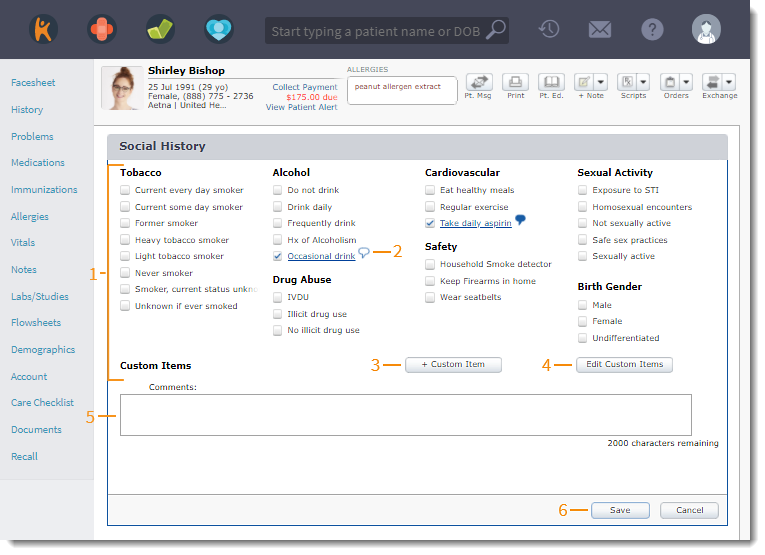
Add Social History
- Click to select the item(s) pertaining to the patient's social history.
- A comment icon appears next to selected conditions.
- Click the comment icon to add comments. Click Ok when finished.
- Click the blue comment icon to view or edit comments.
- To add custom items for Social History, click + Custom Item.
- To edit or delete custom items, click Edit Custom Items.
- Add Comments, if necessary.
- Click Save when finished.
|
 |