Updated: 04/01/2026 | Views: 7141
Tebra offers features that help you manage patient appointments more efficiently. In Calendar Settings, you can set individualized office hours and breaks that automatically appear in the calendar for providers and non-provider members of your staff who see patients.
Note:
- Providers are automatically added when a provider User Account is created.
- Staff members must be created in Scheduling Resources before Office Hours can be configured.
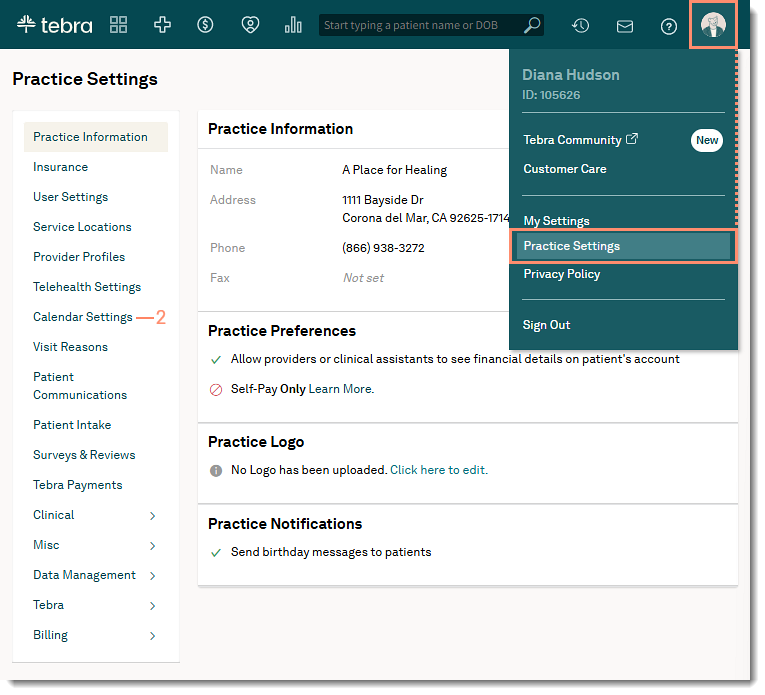
Access Calendar Settings
- Hover over the User icon and click on Practice Settings. The Practice Settings page opens.
- Click Calendar Settings. The Calendar Settings page opens.
|
 |
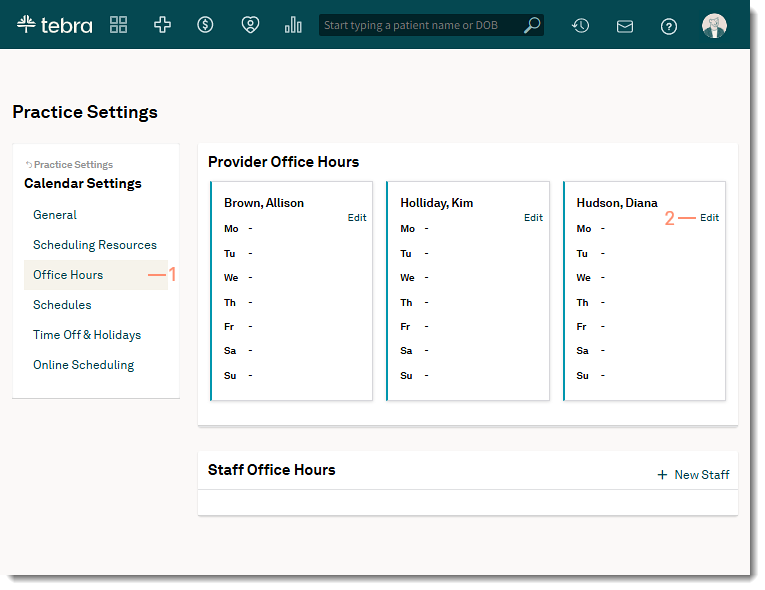
Manage Office Hours
- Click Office Hours. The Office Hours page opens.
- Manage Office Hours:
- To configure the provider's office hour, click Edit to the right of the provider's name. The provider's Office Hours - Provider page opens.
- To configure a staff's office hours, click on the Staff tab. Then, click edit to the right of the staff's name. The Office Hours - Staff page opens.
|
 |
- To quickly set Monday through Friday hours, click M-F, 9am-5pm. The time slots for Monday through Friday populates with 9am - 5pm with a one hour break at 12pm. Adjust the time slots and breaks as necessary.
- If the practice has multiple service locations, select the location.
- If the practice has one service location, the location is automatically selected.
- To remove all time slots and breaks to start over, click Blank Slate.
- To set custom appointment hours for the day, click + icon. Then, select a Start Time, End Time, and Location.
- To edit a time slot, select a different Start Time, End Time, and Location.
- To remove a time slot, click the - icon.
- To set breaks in appointment hours (e.g., when the practice closes for lunch), click + icon. Then, select a Start Time, End Time, and enter a Label.
- To edit a break, click select a different Start Time, End Time, or update the Label.
- To remove a break, click the - icon.
- Click Save when office hours are added for all applicable days.
|
 |