Updated: 02/20/2025 | Views: 5720
Collection categories are used to track the status of patient accounts. Tebra includes two common collection categories (e.g., Collections, Current), however, you can customize the list according to the needs of the practice(s).
Note: Collection categories are not practice specific and are shared across all practices within the Tebra account.
Custom collection categories allow you to:
- Define various collection categories for use within Tebra.
- Elect to send or withhold patient statements for patients that have been placed in a specific collection category.
- Enter a dunning message that is printed on patient statements for those patients who receive statements after they have been placed in a collection category.
- Add a collection alert message that appears at the top of various records for patients who have been placed in a specific collection category.
- Generate certain Accounts Receivable Reports that are based on specific collection categories.
You always begin with finding the collection category before creating, editing, or deleting a collection category.
Find Collection Category
- Click Settings > Other Lists > Find Collection Categories. The Find Collection Category window opens.
 Tip: To narrow down the list when there are numerous collection categories, use the Look For search bar to enter all or part of a keyword for the collection category. Then, click Find Now. Tip: To narrow down the list when there are numerous collection categories, use the Look For search bar to enter all or part of a keyword for the collection category. Then, click Find Now.
|
 |
New Collection Category
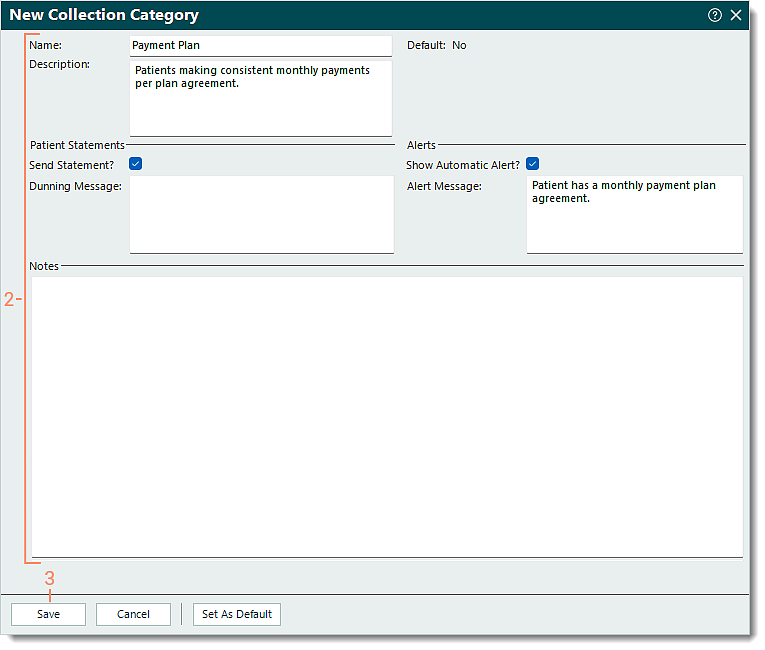
- To prevent duplication, verify the collection category is not in the system then click New at the bottom. The New Collection Category window opens.
- Enter the information.
- Name: The name for the collection category.
- Description: A brief description to describe the purpose of the collection category.
- Patient Statements section: "Send Statement?" is disabled by default. Click to enable if patients associated with the collection category should be sent a statement.
Note: When disabled, patients associated with the collection category are excluded from Automated Patient Billing and the Send Patient Statements wizard.
- If enabled, enter a Dunning Message (not to exceed 250 characters, including spaces) as necessary. The dunning message will print on all future patient statements for patients associated with the collection category and replaces the message entered as the Global Message 1 within the Patient Statement Options.
- Alerts section: "Show Automatic Alert" is disabled by default. Click to enable if an alert message should display at the top of various records (e.g., Patient, Encounter, Claim, Appointment) and under the Collection Alert column of the Send Patient Statements wizard for patients associated with the collection category.
- If enabled, enter the Alert Message as necessary to display at the top of various records (e.g., Patient, Encounter, Claim, Appointment) and under the Collection Alert column of the Send Patient Statements wizard.
- Notes: If applicable, internal notes related to the collection category.
- If the collection category should be the default category, click Set As Default on the bottom. The Default status in the upper right of the window updates from No to Yes.
 Important Notes: Important Notes:
- The collection category cannot be deselected as the default once selected and saved. The collection category remains the default until a different collection category is selected as the default.
- Once saved, all new patients created in Tebra are automatically associated with the default collection category moving forward.
- When finished, click Save.
|
 |
Edit Collection Category
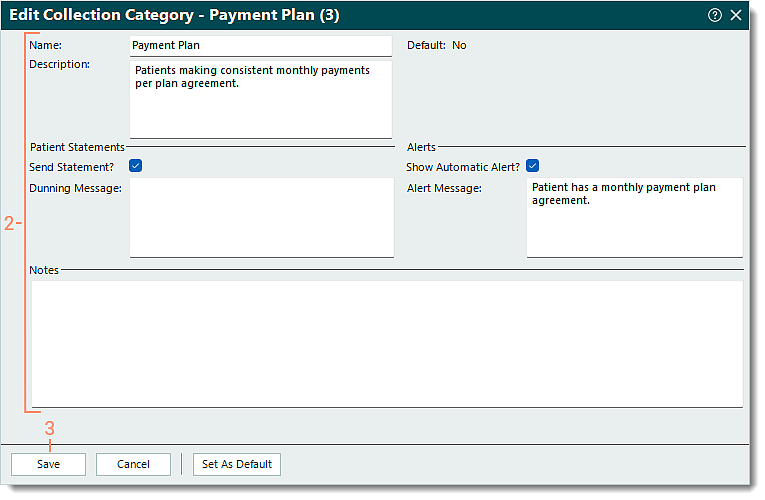
- Find the collection category then double click to open. The Edit Collection Category window opens.
- Make the necessary changes.
- Click Save.
|
 |
Delete Collection Category
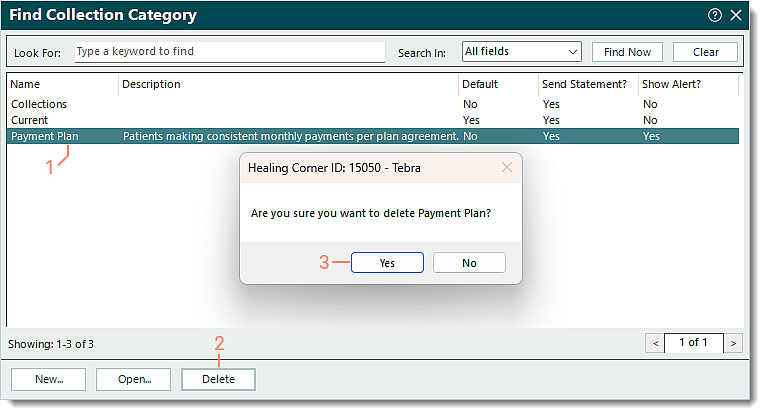
- Find the collection category then click once to select it.
- Click Delete. A confirmation pop-up appears.
- Click Yes to confirm the deletion. The collection category is deleted.
Note: Only collection categories that are not set as the default can be deleted.
|
 |