Activate Patient Collect (Stripe)
- Last updated
-
-
Save as PDF
Updated: 08/18/2026 | Views: 41984
Tebra Patient Collect (Stripe) gives practices the ability to collect patient balances faster and reduce time in accounts receivable. Unlike traditional payment options, Patient Collect offers a robust messaging and payment solution that leverages text, email and mailed statements to ensure patients are communicated to in the right way, at the right time. To activate Patient Collect (Stripe) through the web platform, review Activate Patient Collect (Stripe).
Benefits include:
- Unlimited text and email balance reminders
- Securely take credit card payments and process directly through Tebra
- Automatic payment deposits into the practice's bank account
- Enables patients to make online payments
- QR code and pay online payment options on mailed statements
- Automated Patient Billing feature
Note: Tebra is partnered with Stripe, a third-party vendor for secure business commerce that allows you to accept and process credit card payments online. During the Patient Collect (Stripe) activation process, you will be required to create a Stripe account for the practice or associate an existing Stripe account with the practice.
Navigate to Patient Collect
- Click Settings > Patient Payments. The Patient Payments window opens.
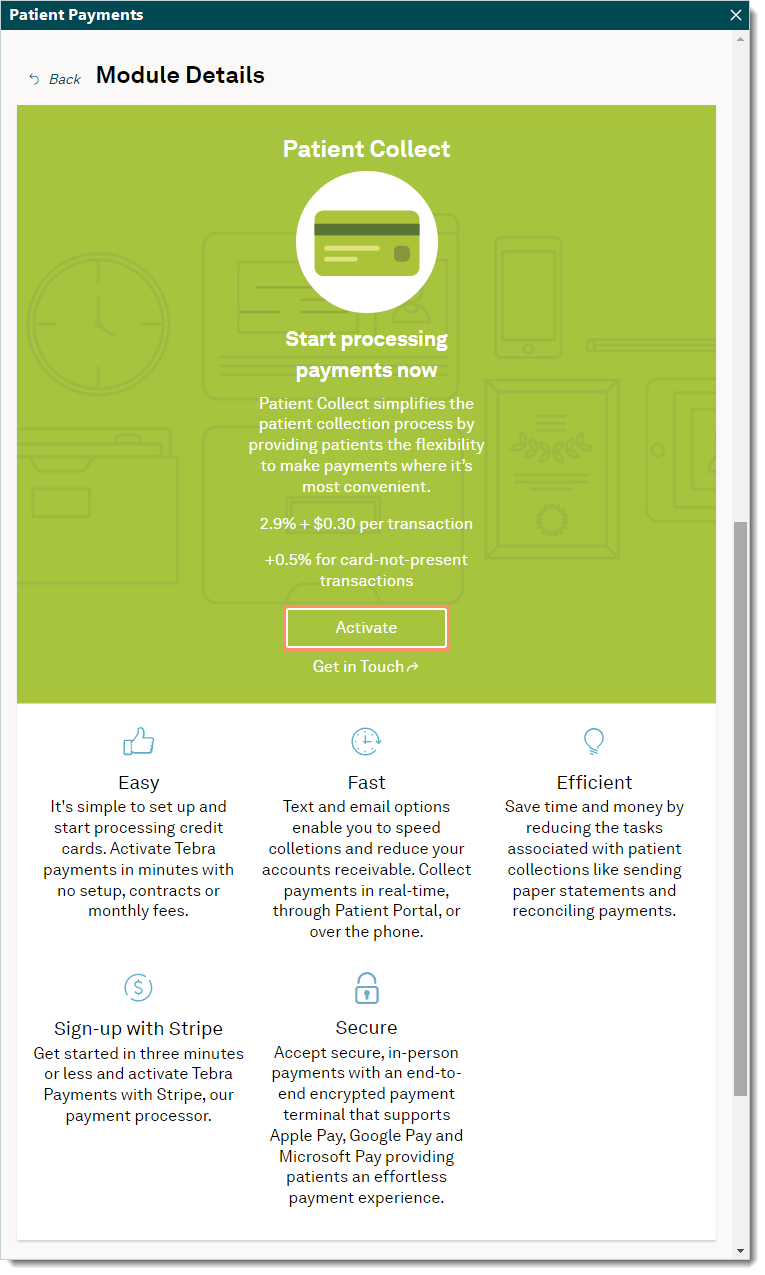
- Click Learn More. The Module Details window for Patient Collect opens.
|

|
Activate Patient Collect
- Click Activate. The Setup Patient Collect pop-up window opens.
|
 |
- Review the information. Then, to agree:
Note: To view the per transaction fees, click View Pricing.
- Click to select "I agree to the Tebra Pricing Policy"
- Click to select "I agree to activating Tebra Patient Portal"
Note: Activating the patient portal enables patients to access their statements and securely make payments online. If the patient portal has already been activated, this option does not display.
- Click Accept Terms & Continue. The Get Started with Stripe page displays.
|

|
Get Started with Stripe
Tebra is partnered with Stripe, a third-party vendor for secure business commerce that allows you to accept and process credit card payments online. In order for you to collect electronic payments using our Patient Payments feature, you must have a Stripe account.
 Important Notes: Important Notes:
- If you have multiple practices that should not be associated with the same Stripe account, completely log out of all other practices' Desktop Application (PM) sessions and Stripe dashboards (if applicable) before setting up the additional Stripe account.
- There are specific categories such as online pharmacies, prescription-only products including card-not-present pharmaceuticals, cannabis related practices/consultations, and products and services with varying legal status on a state-by-state basis that may be restricted. Review Stripe Prohibited and Restricted Businesses for more details and for further questions, contact Stripe Support.
- Enter the email address.
- If there is no existing Stripe account for the practice, enter an email address to create an account.
- If there is an existing Stripe account that should be associated with the practice, enter the email address for that account.
- If there is an existing Stripe account but it should not be associated with the practice, enter an email address to create a new account
- Click Submit and follow the prompts to complete the Stripe account enrollment form. For any questions or assistance, contact Stripe Support.
Once the Stripe account is activated, begin collecting patient payments, access the Stripe Dashboard, and optionally purchase a card reader to use with the Stripe terminal.
Note: Payments can still be collected without a card reader.
|
 |
