Updated: 02/20/2026 | Views: 13174
The Documents feature allows faxed, scanned, or digital (e.g., Word, Excel, PDF) documents to be uploaded, stored, and attached to various records (e.g., Patient, Encounter, Payment, Provider, Appointment). Each Document record includes the actual file and any descriptive information added about the document. You can add documents from file or scanner. Faxed documents are received via kFax and automatically uploaded and stored under Documents. To add a document to a record, review Add Document to Record.
Documents uploaded through the Desktop Application (PM), Clinical, or the Mobile App are shared across systems. You can access documents in the web platform via Documents and Patient Documents.
Add Document from File
- To add a new document from file on the:
- Practice Home window: Click Documents > Add Document from File. The Upload Document window opens then proceed to step 2.
- Find Document window: Click Add from File on the bottom of the window. The Upload Document window opens then proceed to step 2.
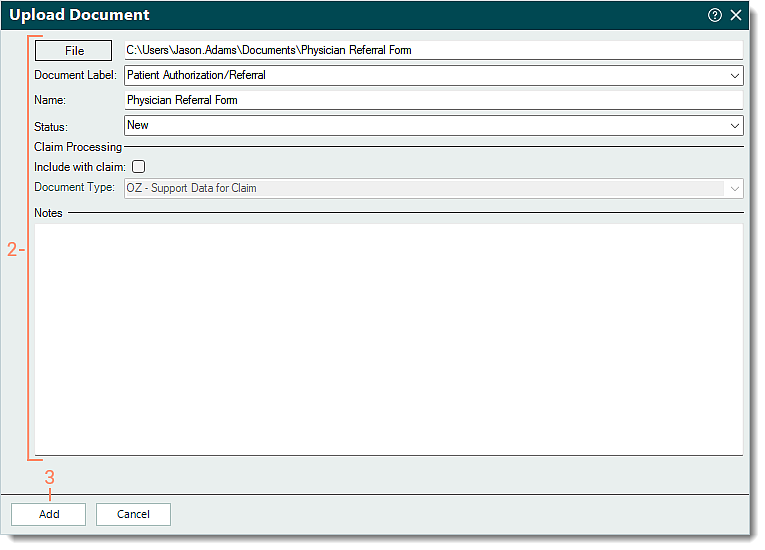
- Enter the document information.
- File: Click File. The computer's document library opens. Find and select the document file to upload (.exe and .html files are not supported) then click Open.
- Document Label: Click the drop-down arrow to select the appropriate label.
- Name: Automatically populates with the name of the file selected. Edit the name for the document as necessary.
- Status: Click the drop-down arrow to select the appropriate document status.
- Claim Processing section: Applicable for supporting documentation being added to the Encounter record. Review Electronic Claim Attachments for more information.
- Notes: If applicable, enter notes related to the document.
- Click Add when finished. The document is uploaded and stored under Documents.
|
 |
Add Document from Scanner
To use the document scanning feature, the scanner device must be TWAIN compliant. For more information, visit the TWAIN website.
Note: Scanned documents can take up a large amount of storage space, review Document Storage and Best Practices for more information.
- To add a new document from scanner on the:
- Practice Home window: Click Documents > Add Document from Scanner. The Scan Document window opens then proceed to step 2.
 Tip: For faster navigation, press F6 on the keyboard. Tip: For faster navigation, press F6 on the keyboard.
- Find Document window: Click Add from Scanner on the bottom of the window. The Scan Document window opens then proceed to step 2.
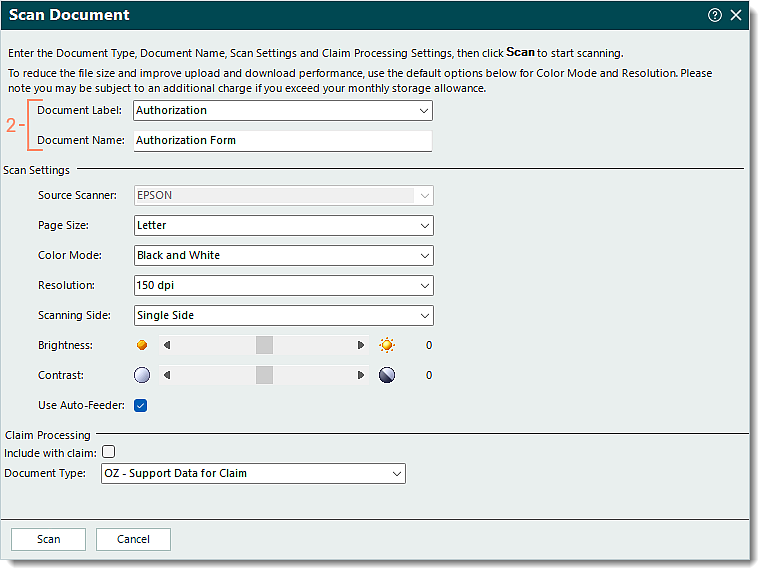
- Enter the document information.
- Document Label: Click the drop-down arrow to select the appropriate label for the document.
- Document Name: The name for the document.
|
 |
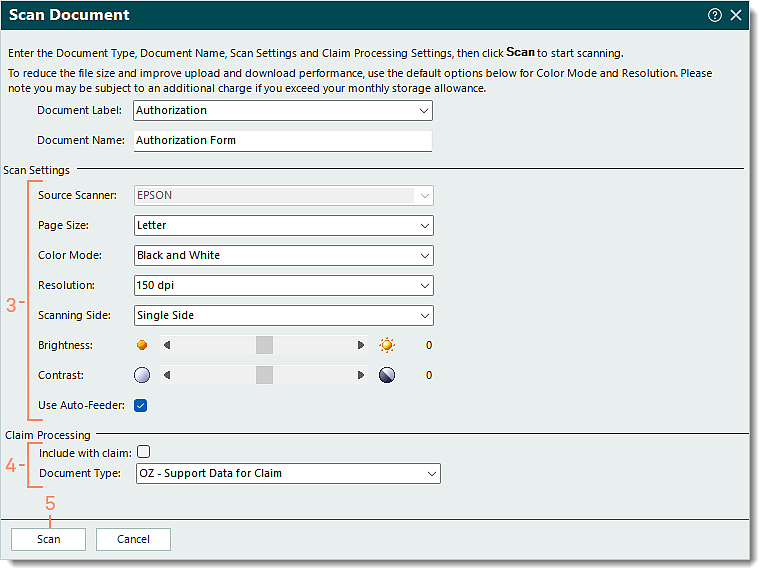
- Scan Settings section: Select the appropriate settings options.
Note: Available options are as supported by the scanner. Additionally, the Color Mode, Resolution and Scanning Side option lists are as set forth by TWAIN scanner interface standards.
- Source Scanner: Defaults to the scanner device installed on the computer. If there are multiple scanner devices installed, click the drop-down arrow to select the scanner to use.
- Page Size: Defaults to Letter. Click the drop-down arrow to select a different size.
- Color Mode: Defaults to Black and White. Click the drop-down arrow to select a different mode.
- Resolution: Defaults to 150 dpi. Click the drop-down arrow to select a different resolution.
- Scanning Side: Defaults to Single Side. Click the drop-down arrow to select a different side.
- Brightness and Contrast: Click the arrows to adjust the brightness and contrast if necessary.
- "Use Auto-Feeder": Selected by default. To scan documents manually, click to deselect.
- Claim Processing section: Applicable for supporting documentation being added to the Encounter record. Review Electronic Claim Attachments for more information.
- Click Scan. Progress of the scan displays.
|
 |
- Once scanning completes, click to select the appropriate option.
- "Yes, all of my pages were scanned correctly.": Selected by default and will close the Scan Document window.
- "Yes, all of my pages were scanned correctly and I would like to scan some additional pages.": Select to scan additional pages.
- "No, some pages didn't scan correctly and I would like to rescan all pages.": Select to rescan all pages.
- "No, some pages didn't scan correctly and I would like to cancel this scan job.": Select to cancel and will close the Scan Document window.
- Click OK.
When finished and all pages are scanned correctly, the document is uploaded and stored under Documents.
|
 |