Patient Collect (Stripe): Process Virtual Card Payment
- Last updated
-
-
Save as PDF
Updated: 04/21/2026 | Views: 1576
Virtual cards are a payment method for insurance companies, health plans, and third-party payment vendors to issue payments to practices for patient services. Patient Collect (Stripe) activated practices can use this feature to securely deposit funds from virtual card payments into the bank account designated for your Stripe payouts.
For Tebra Payments activated customers, review Tebra Payments: Process Virtual Card Payment. To learn how to process virtual card payments in the Desktop Application (PM), review Enter New Payment and Process Virtual Card.
Note: Processing a virtual card payment does not automatically create an unapplied insurance payment in the Desktop Application (PM). If applicable, record an insurance payment after successfully processing the virtual card payment.
Process Virtual Card Payment
- Hover over the Billing icon and click Virtual Card. The Virtual Card Payment page opens.
|
 |
- Enter the Payment Amount and optional billing address Zip Code (listed on the virtual card statement for card processing).
- Enter the Card Number, Expiration Date (month/year), and CVC code.
- Click Process Transaction when finished. The Payment Receipt page opens.
Note: The virtual card payment displays in the Stripe Dashboard under the Payments section of the Transactions and does not transfer to the Desktop Application (PM) as an unapplied insurance payment. If applicable, continue to record an insurance payment after successfully processing the virtual card payment.
|
 |
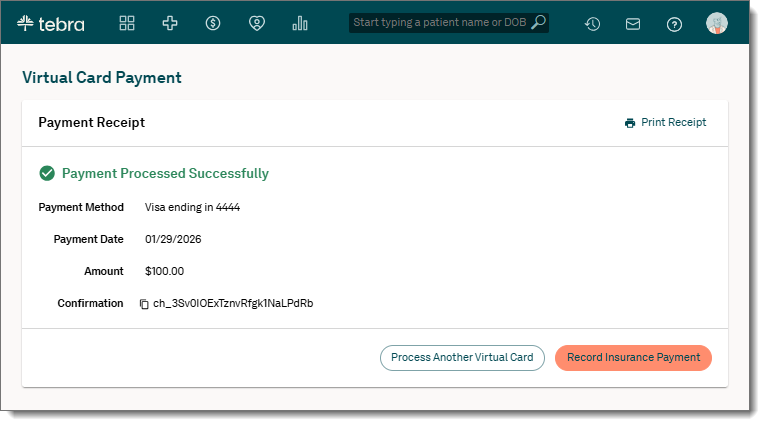
Payment Receipt
The virtual card payment receipt includes the payment method, date, amount processed, and confirmation number.
- To print the receipt for record keeping, click Print Receipt.
- To copy the confirmation number to paste elsewhere for future reference, click the copy icon.
- To continue processing virtual card payments, click Process Another Virtual Card.
- To create an unapplied insurance payment record, click Record Insurance Payment.
|
 |
Record Insurance Payment
After successfully processing a virtual card payment, the option to create an unapplied insurance payment record is available on the Payment Receipt page.
- Click Record Insurance Payment on the Payment Receipt page. The Record Insurance Payment page opens.
Note: To prevent duplication, it's recommended to log into the Desktop Application (PM) and find the payment to verify it is not already in the system.
- Enter the unapplied insurance payment information.
- Batch #: If applicable, the batch number for the payment.
- Post Date: Defaults to the current date. If necessary, enter a different posting date for the payment.
- Insurance: Select the appropriate payer.
- Adjudication Date: The adjudication date provided on the explanation of payment which indicates the date the payer processed the claim(s).
- Reference Number: The reference number for the payment if applicable.
- Notes: Auto-populates with the Confirmation number from the Payment Receipt page. If applicable, enter any additional internal notes related to the payment.
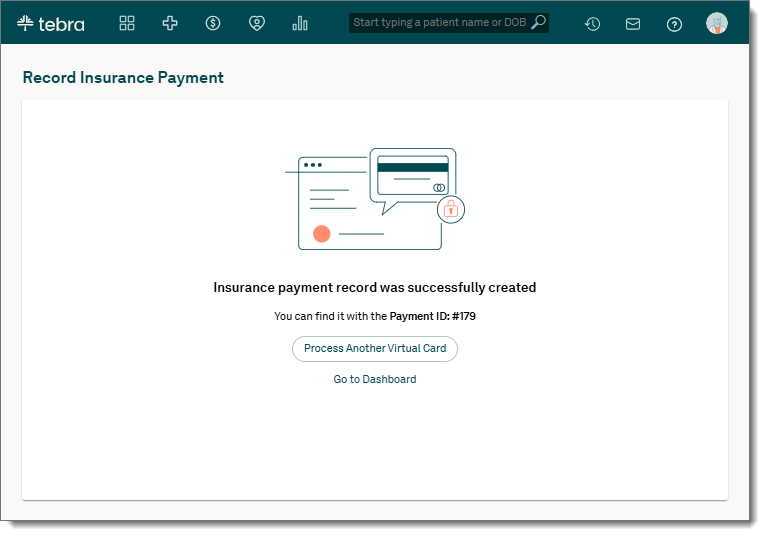
- When finished, click Save Insurance Payment. The confirmation page opens.
|
 |
- Proceed as necessary.
|
 |