Release Notes November 2023
On November 16, 2023, your Practice Operations account will be upgraded to the latest version.
BillingInvoice HistoryNovember 22, 2023 Update: Feature availability has been moved to 2024. |
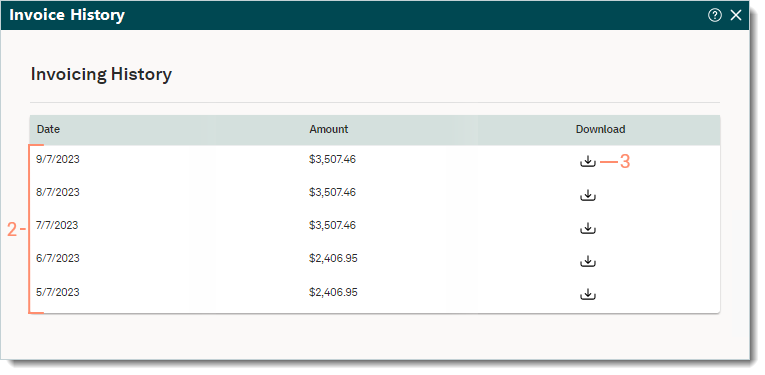
View Invoice History
|
 |
Billing General Improvements
- Tebra was updated with the new CPT code set that will go into effect January 1, 2024. Visit the AMA for more general information about the newly released 2024 CPT code set.
Note: For customers using the Local Name for procedure codes and Self-Pay Only enabled customers using the Local Name for Services, the Local Name may need to be edited to reflect the following time requirement updates that were included in the code set revisions.- 99306: Updated from 45 minutes to 50 minutes
- 99308: Updated from 15 minutes to 20 minutes
- The Invoice History page of My Account was updated. Feature available by end of November 2023.
Billing Resolved Issues
- Fixed an issue where users received an erroneous code check error upon encounter approval
- Fixed an issue where appointments with associated charge captures still displayed on the Missed Charges report
- Fixed an issue where the outstanding balances on itemized receipts for self-pay charges did not include the adjustments
Clinical
Psychotherapy Notes
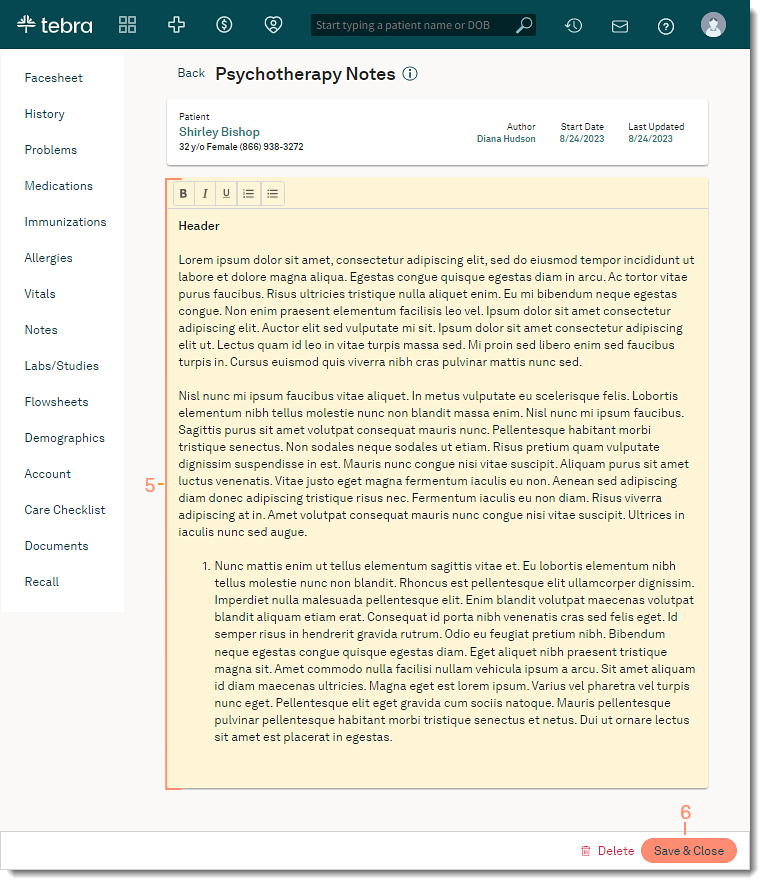
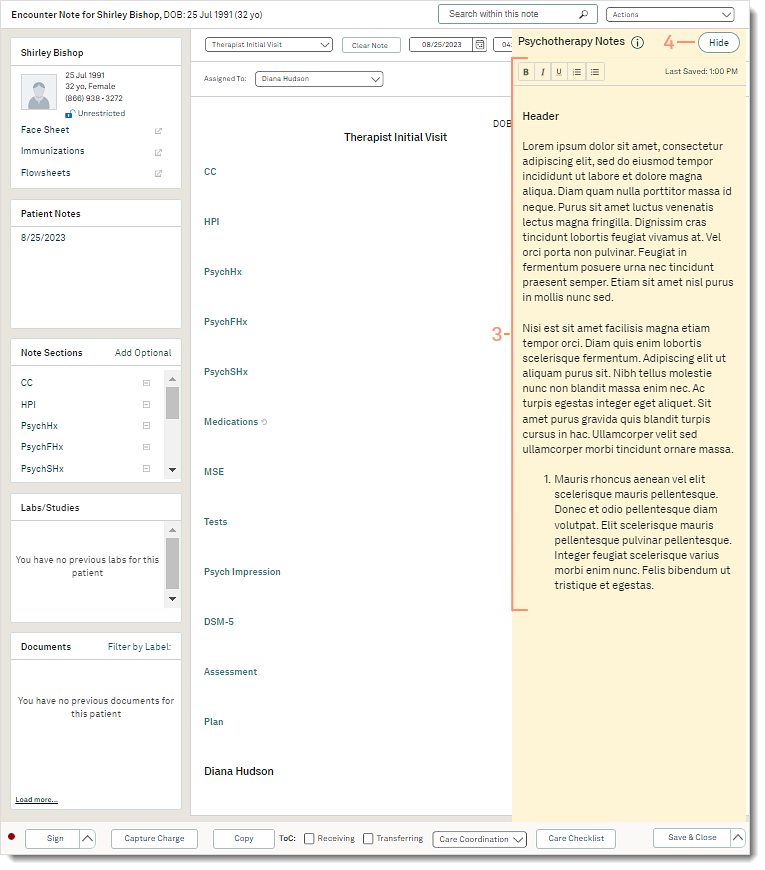
Mental health providers can now create psychotherapy notes, also called process notes, to document their personal observations and insights related to the therapeutic session. The psychotherapy notes are separate from the patient’s medical record and are not accessible by the patient, other providers, or staff members in the practice.
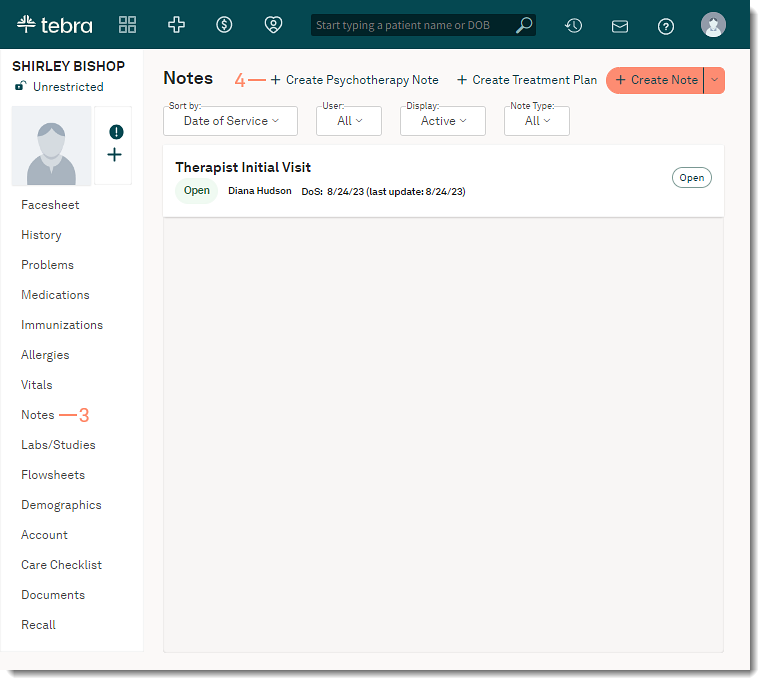
Providers can create a new psychotherapy note from the patient's Notes page or through a clinical note. Only one psychotherapy note can be created for the patient per provider. Providers can also view or edit the psychotherapy note in a clinical note. This allows providers to enter their clinical documentation and access their personal notes at the same time.
Psychotherapy notes are automatically enabled for mental health providers. If the option is disabled, mental health providers can turn on psychotherapy notes for their own personal use.
Watch the Psychotherapy Notes video to see the workflow.
| Create Psychotherapy Note
The psychotherapy note is separate from the medical chart and is not included in any Health Information Exchange (HIE) such as referrals, patient chart printouts, clinical note printouts, patient portal, and CCDA. The psychotherapy note is automatically saved approximately every 30 seconds or when a change is made to the note to increase productivity and avoid data loss.
|
 |
|
 |
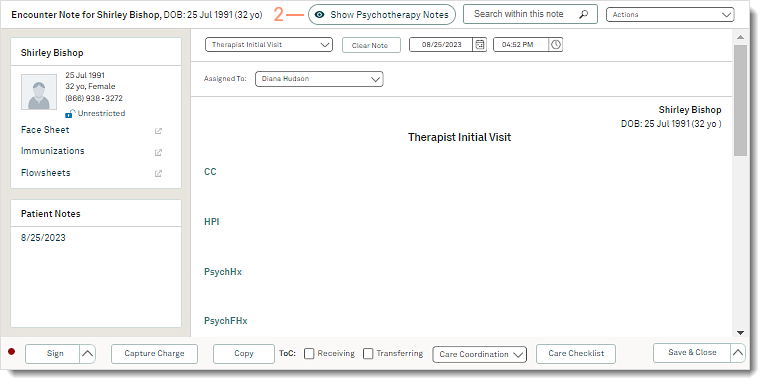
| View Psychotherapy Note in Clinical Note
Create, view, or edit the psychotherapy note in a clinical note. Providers can enter their clinical documentation and access their personal notes at the same time.
|
 |
|
 |
Electronic Case Reporting
Tebra now offers automatic submission of reportable conditions to public health agencies (PHAs). Electronic Case Reporting (eCR) is the automated generation and transmission of case reports from EHRs to public health agencies for review and action. This reduces the burden on healthcare providers on reporting requirements and improves the timeliness and completeness of reports at a local, state, and national levels.
Review the Electronic Case Reporting FAQs for more details.
| Get Started
Providers must be registered with their state’s Public Health Agency, have an Updox Direct Message email, and be registered with AIMS to electronically submit reportable conditions (e.g., COVID-19). Review the Electronic Case Reporting FAQs to learn more about eCR. There are multiple phases that each provider may or may not go through. This is dependent on the requirements and processes of each public health registry. The phases include the following:
|
|
| Electronic Case Reporting Dashboard Once the provider has completed all eCR enrollment steps, Tebra will check clinical notes for reportable conditions after the note is created and send a message to the PHA as necessary. Providers can then review case reports sent back from the PHAs and determine whether or not additional action is required on the Electronic Case Reporting Dashboard.
|
 |
Send Patient Documents
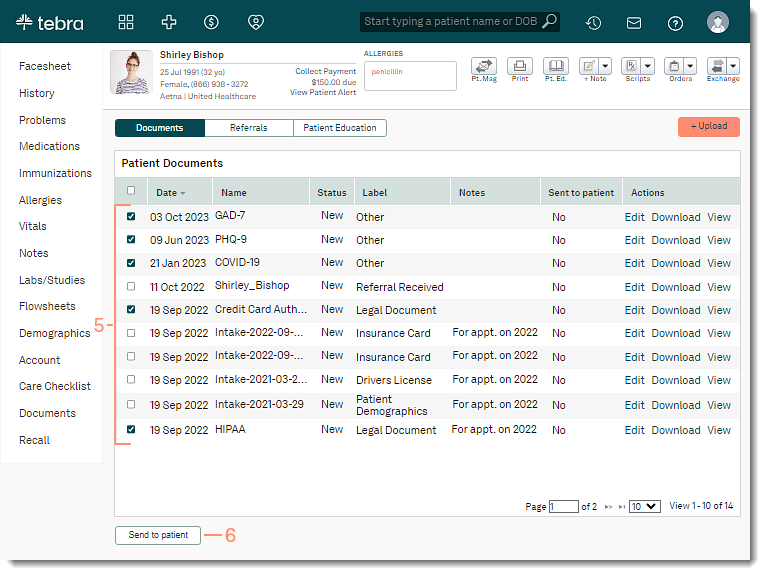
In a continuing effort to advance a patient's right to their health information under the Cures Act, practices can now share uploaded documents with patients via the Patient Portal.
Important Notes:
- Documents sent to the Patient Portal cannot be rescinded
- Deleting a document that was sent to the patient from the patient's documents tab will also delete the document in the Patient Portal
| Send Document to Patient The practice should establish their own policies regarding who can send patient documents because any user with access to the patient's documents can send documents to the patient. Before sending the document(s), users should verify the document is accurate and can be shared with the selected patient.
|
 |
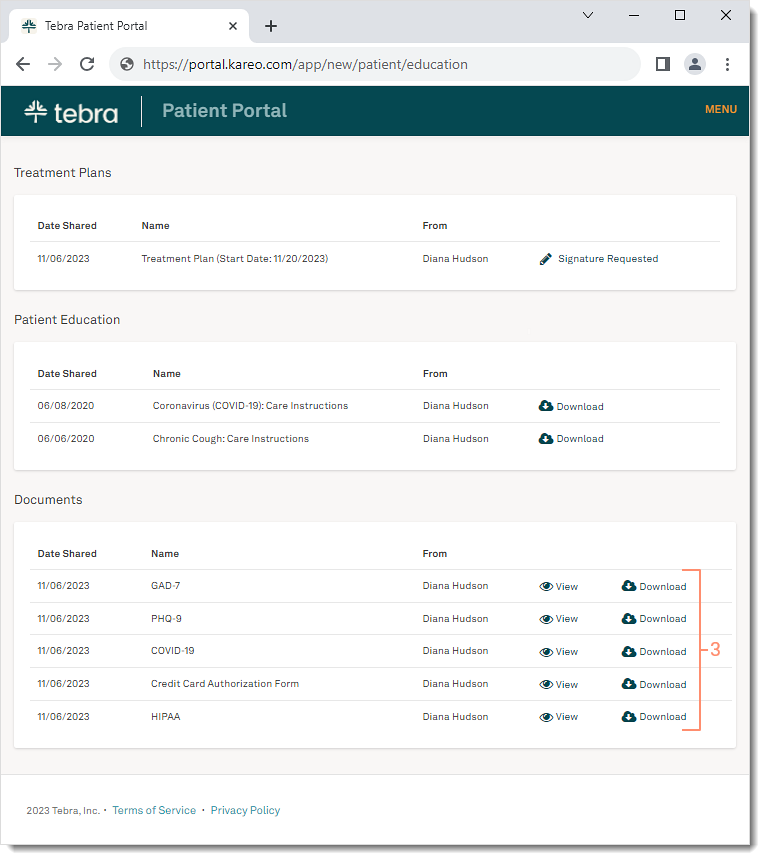
| Patient Experience: View Sent Document
Patients must be invited to the Patient Portal and activate their account to view the documents sent. Note: If the documents are sent before the patient activates their Patient Portal, they can still access and view the sent documents.
|
 |
Clinical General Improvements
- The Export Patient Clinical Data now includes patient's upload documents.
- The vaccine administration route has been updated to the NCIT codeset for immunization registry reporting.
- The vaccine administration site has been updated with the most recent HL7 codeset for immunization registry reporting.
- The following vaccines are now available to order, administer as new, or add as historical:
- Comirnaty 2023-24 (12y up)(PF)
- Moderna COVID 2023-24(6mo-11yr)(PF)
- Novavax COVID 2023-2024(PF)
- Pfizer COVID 2023-24(5y-11y)(PF)
- Pfizer COVID 2023-24(6mo-4y)(PF)
- Spikevax 2023-2024(12y up)(PF)
- Tebra was updated with the new CPT code set that will go into effect January 1, 2024. Visit the AMA for more general information about the newly released 2024 CPT code set.
Note: For customers using the Local Name for procedure codes and Self-Pay Only enabled customers using the Local Name for Services, the Local Name may need to be edited to reflect the following time requirement updates that were included in the code set revisions.- 99306: Updated from 45 minutes to 50 minutes
- 99308: Updated from 15 minutes to 20 minutes
Clinical Resolved Issues
- Fixed an issue where the patient's insurance information is missing from the patient facesheet printout
- Fixed an issue where users experience a continuous loading icon when attempting to access notes in the patient's chart
Engage
Surveys & Reviews Management
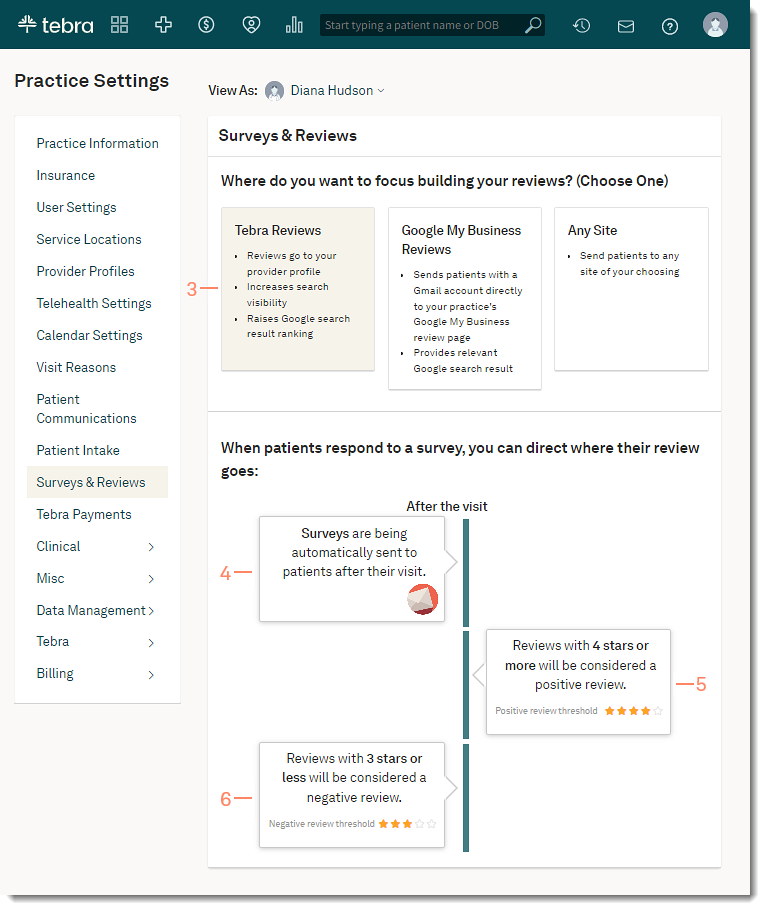
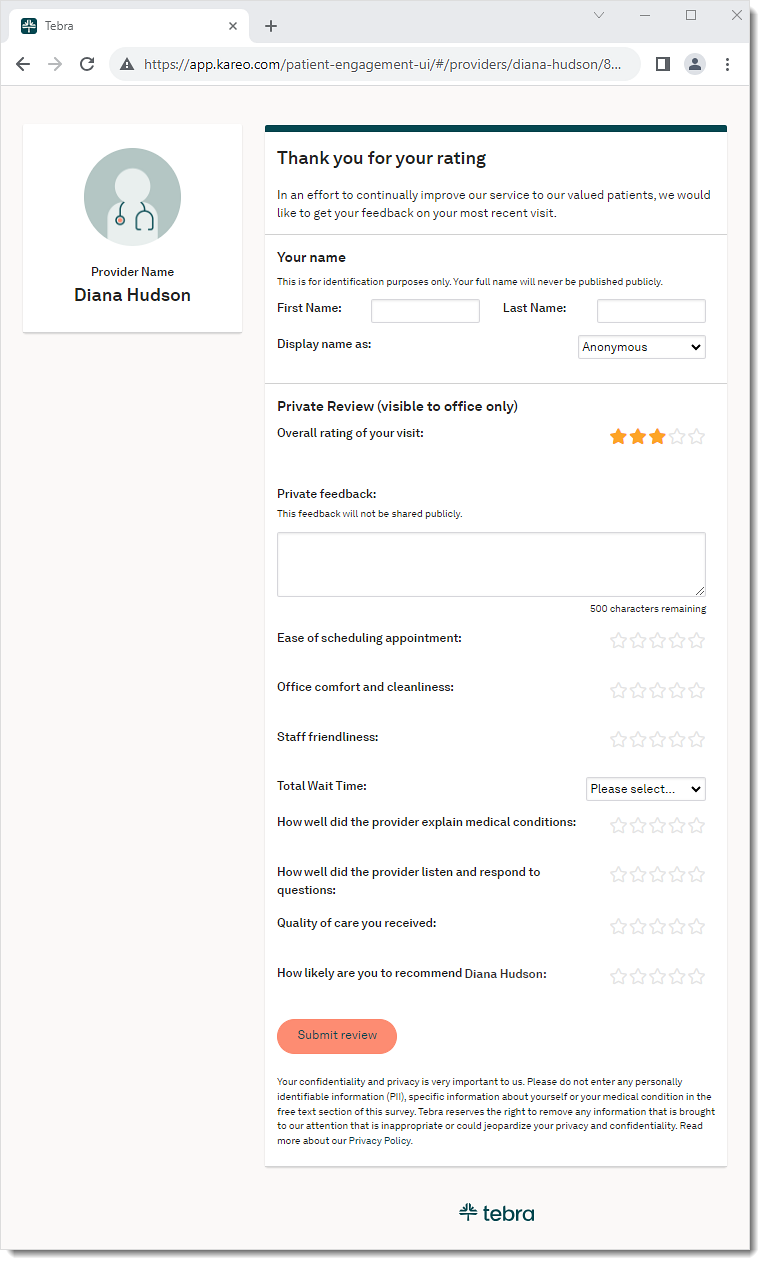
To align with the recent guidelines introduced by the Federal Trade Commission (FTC) and to ensure compliance, Tebra is introducing a new Surveys & Reviews workflow for Tebra Reviews.
System Administrators can now set a star rating threshold for positive and negative reviews. If the patient selects a positive star rating review, they will be encouraged to leave a public review first with the option to leave an internal feedback. If the patient select a negative star rating review, they will be encouraged to leave an internal feedback first with the option to leave a public review.
Feature available early December 2023.
Manage Surveys & Reviews Settings
|
 |
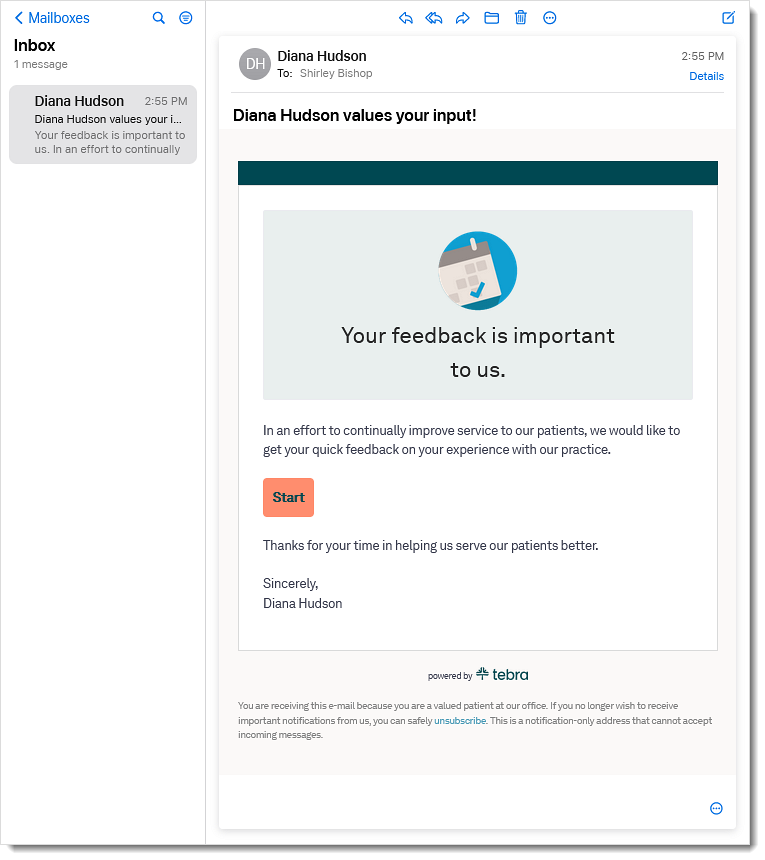
Patient Experience: Access Survey
|
 |
|
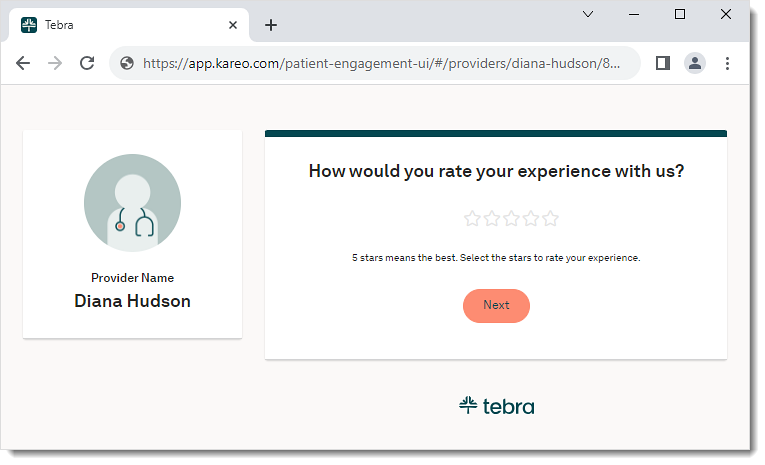 |
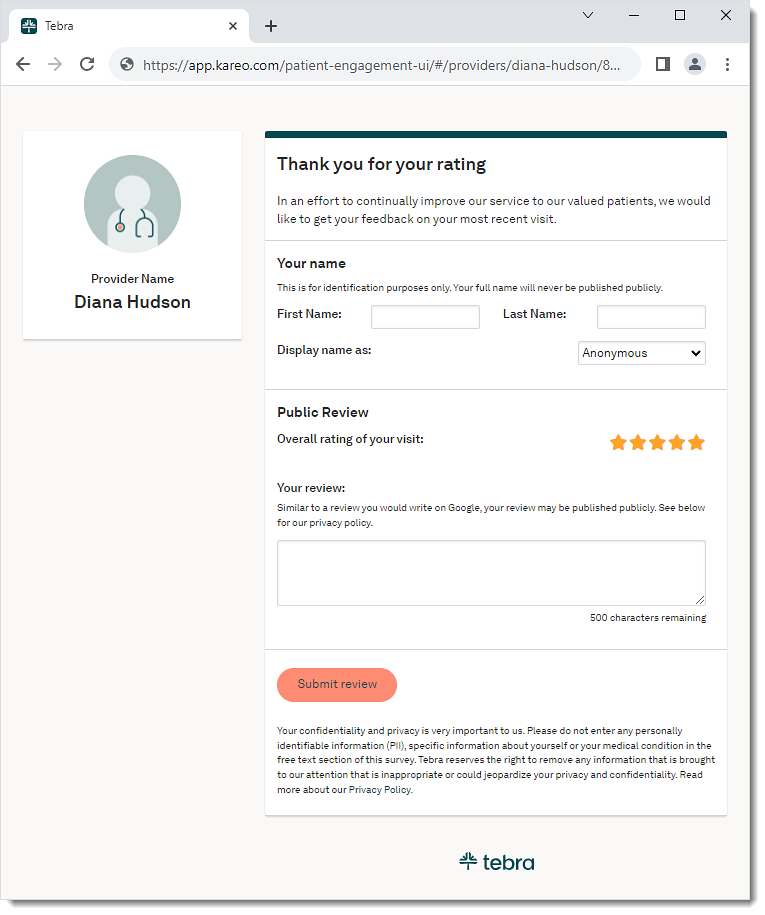
| Patient Experience: Positive Review When the patient selects a star rating that meets the positive review threshold, the leave a public review displays first with the option to leave an internal feedback.
|
 |
|
 |
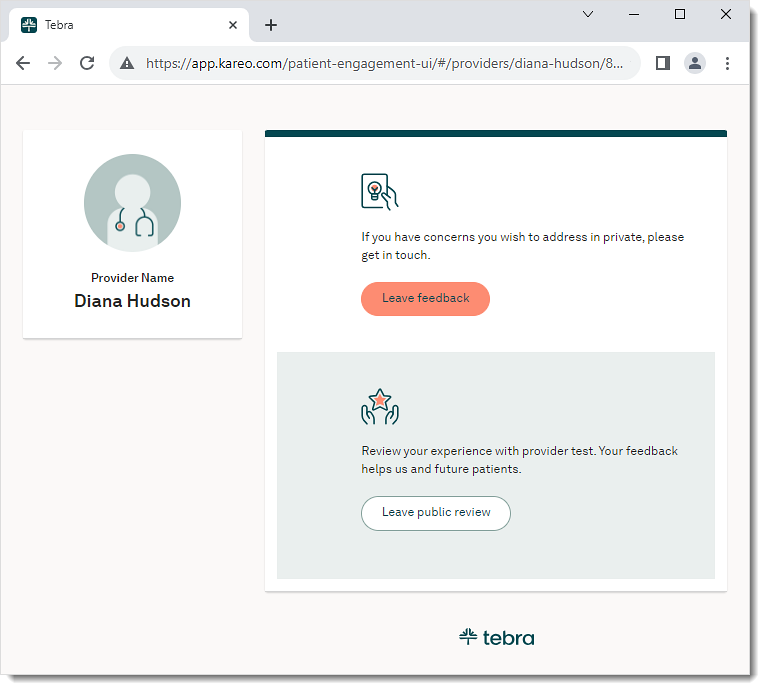
| Patient Experience: Negative Review When the patient selects a star rating that meets the negative review threshold, the leave an internal feedback displays first with the option to leave a public review.
|
 |
|
 |
Engage General Improvements
- Tebra Payments activated customers can now send the Credit Card Authorization form to allow patients to add credits card(s) on file and electronically sign the authorization form.
Platform
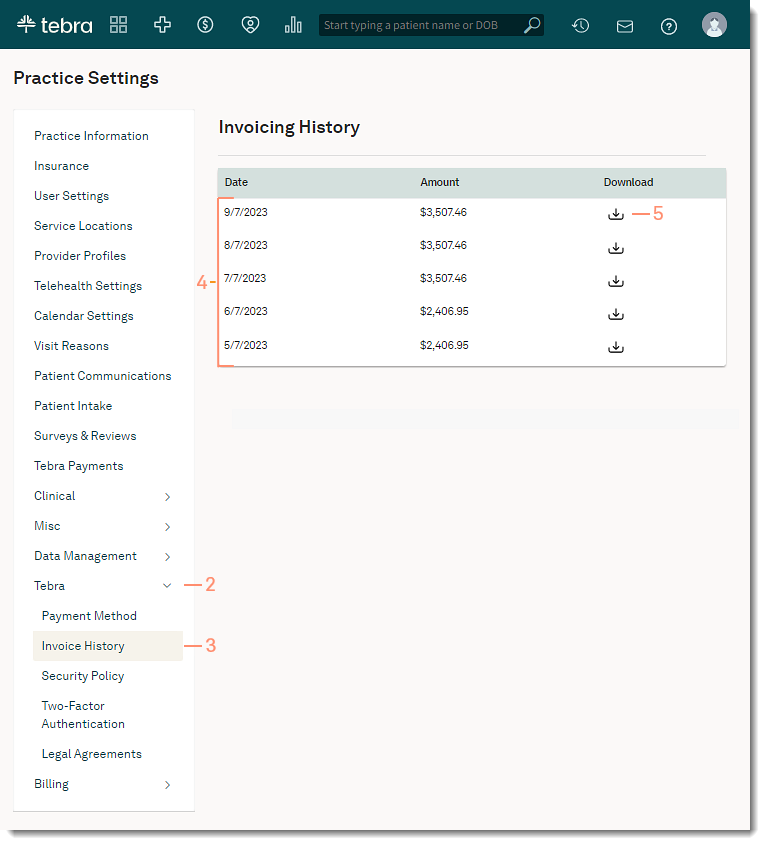
Invoice History
November 22, 2023 Update: Feature availability has been moved to 2024.
System administrators can now download up to 12 of the account's past invoices in the web platform.
Feature available by end of November 2023.
View Invoice History
|
 |
Platform General Improvements
- The app.kareo.com login page has received an update, offering users the added convenience of displaying the password they are entering. This update provides infrastructure changes that support stability as well as an improved user experience.
Platform Resolved Issues
- Fixed an issue where Tebra Payment practices were unable to process a payment using a saved credit card on file
- Fixed an issue where users received an error message when attempting to check eligibility for all patients on the Dashboard
- Fixed an issue where users received an error message when attempting to move a patient appointment between rooms
- Fixed an issue where users were unable to select today's date as a new patient's Date of Birth
- Fixed an issue where the dashboard filters did not persist during the session
- Fixed an issue where unable to access the Dashboard
Telehealth
Telehealth General Improvements
- For Telehealth visits, providers and participants can now respond directly to a specific chat message by hovering over the message and clicking the more options icon. The reply will display in a combined chat bubble with the message to help keep track of the conversation.